How to Approach the 15 Rotten Autumn Dungeons
Plan Mortal Shell II's Rotten Autumn dungeon runs with a Shell, Tarstone, and risk checklist, then use the October 30 hotfix to retest known issues.
By Mortal Shell 2 Wiki editorial team · Last updated
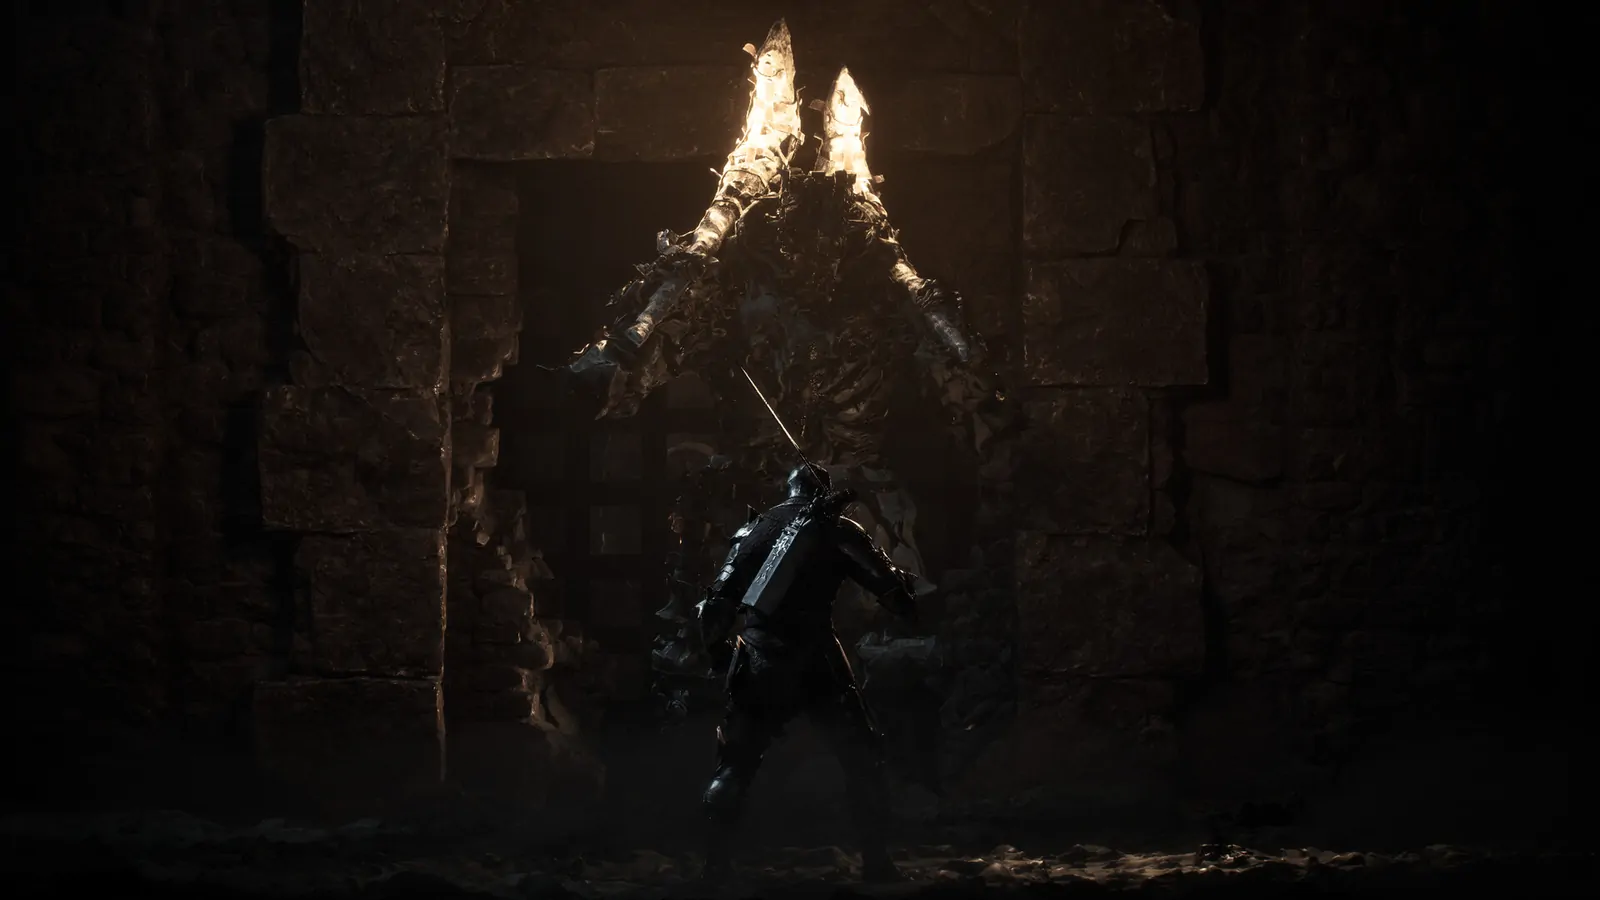
The Rotten Autumn update added 15 new dungeons to Mortal Shell II, alongside 10 Tarstones, Shell Shades, photo mode, a new soundtrack, lighting options, and seasonal items. The room list is a substantial reason to return, but the public update notes do not provide a complete route map or item-by-item walkthrough. This guide gives you a reliable way to learn the new spaces without inventing coordinates or assuming that one Shell is best everywhere.
Set up the run before entering
Choose a purpose for the run: explore a new dungeon, test a Tarstone, complete a Shell Shade encounter, or capture a photo. Combining all four on the first visit makes it hard to tell why a run failed. If you are learning a room, use a familiar Shell and weapon combination. If you are testing a Tarstone, keep the route and equipment constant. If the goal is photography, clear the room first and then return to the composition rather than stopping mid-fight.
At Marrow Keep, confirm your Shell, weapon, Tarstone, and healing supplies. Check the inventory and ability indicators before moving out. If you have just installed the October 30 hotfix, give the UI a moment to refresh after a Shell memory ends. The hotfix corrects several specific display and item issues, and a quick status check can prevent a false assumption that an ability is unavailable.
Learn each room in layers
On the first pass, prioritize exits, large hazards, and safe ground. Do not sprint through an unfamiliar entrance until you have seen where an enemy can follow you and where a recovery point is placed. On the second pass, identify enemy groups and which attacks can be interrupted or avoided. On the third, investigate side paths and possible reward spaces. This layering keeps exploration manageable and leaves room for a challenge without forcing a full clear before you understand the layout.
Keep notes using visible landmarks rather than guessed compass coordinates: “arch behind the broken altar” is more reproducible than “northwest corner” if the camera or room orientation changes. Note the Shell, weapon, Tarstone, and any condition that changed the encounter. If you find a locked route, record the lock itself without claiming a key location you have not confirmed.
Treat Tarstones as experiments
The update adds 10 Tarstones, but the announcement does not establish that all of them should be equipped at once or that they are equally suited to every dungeon. Test one new effect at a time. Before entering, write down the resource or trigger you expect to change. After one fight, inspect the result. If the effect did not appear, check whether you met its condition and whether it requires a particular weapon or action.
Avoid drawing a conclusion from a single unusually easy encounter. Enemy spacing, attack order, and room geometry can change the outcome even with the same build. If a Tarstone appears to refund resolve, track the number before and after the same weapon action across multiple attempts. The October 30 hotfix specifically addresses a Channeler’s Stone refund issue for certain weapon use, so update first before treating an old observation as current behavior.
Use Shell Shades as a combat read, not a gear check
Rotten Autumn adds new Shell Shades for each Shell. Approach them as a way to test a matchup and your defensive rhythm rather than as proof that your current armor is wrong. Watch one attack cycle, identify the clearest tell, and decide whether the move calls for a guard, parry, dodge, or reposition. If a Shell is knocked out, the hotfix says the seasonal Shades should despawn correctly. That fix helps the encounter end cleanly; it does not say that every Shade has identical health or a shared moveset.
Do not rely on Lazlo’s old stacking protection behavior. The October 30 hotfix prevents armor protection persisting through Shell switches and stacking through repeated use. Build around the intended defensive tool you can consistently activate, and check the status after changing Shells. A stable setup is more useful than an exploit that may not be present on your current build.
Retest collision and camera problems with a controlled route
The hotfix names fixes for Orrem and for a long ball hurl during a monolith attack while locked on. If the camera is the issue, repeat the same lock-on sequence without changing sensitivity or target settings. If you are testing a collision problem, note the elevator state and where you were standing when the enemy died. Avoid deleting a save or resetting a whole dungeon before you know whether the new build resolves the exact case.
For a run that ends in a fall or a stuck state, capture the room landmark, movement input, and enemy action just before it happens. The issue may be a specific collision rather than a general route failure. Use your note on the next attempt to approach the same space from a different angle; one small change can tell you whether the obstacle is the route or an edge case.
Take advantage of photo mode after the fight
Photo mode and seasonal lighting presets make the new content enjoyable outside of progression. Clear threats before changing camera placement, then use the lighting options to make the environment readable. If you are documenting a room for a guide, include the entrance and a distinctive landmark in separate shots. One dramatic image rarely gives another player enough context to follow a path.
A repeatable completion log
For each dungeon, record: name as shown by the game, first entry date, Shell and weapon, Tarstone tested, major encounter, exit or reward observed, and whether you returned safely. Add a separate line for bugs with the installed build. This is more useful than marking “done” after one successful boss, especially when the seasonal patch and its hotfix have changed several systems.
For the detailed fix list, open the Rotten Autumn Hotfix 1 guide. If you are preparing a broader progression route, start from the map hub and boss guide, and keep the new dungeon notes separate until you have confirmed each room in your own game.