Mortal Shell II Map and Exploration: Regions, Beacons and Route Planning
Navigate Mortal Shell II with a practical route method, Beacon checks, dungeon decisions and a clearly labelled historical map image without invented collectible pins.
By Mortal Shell 2 Wiki editorial team · Last updated
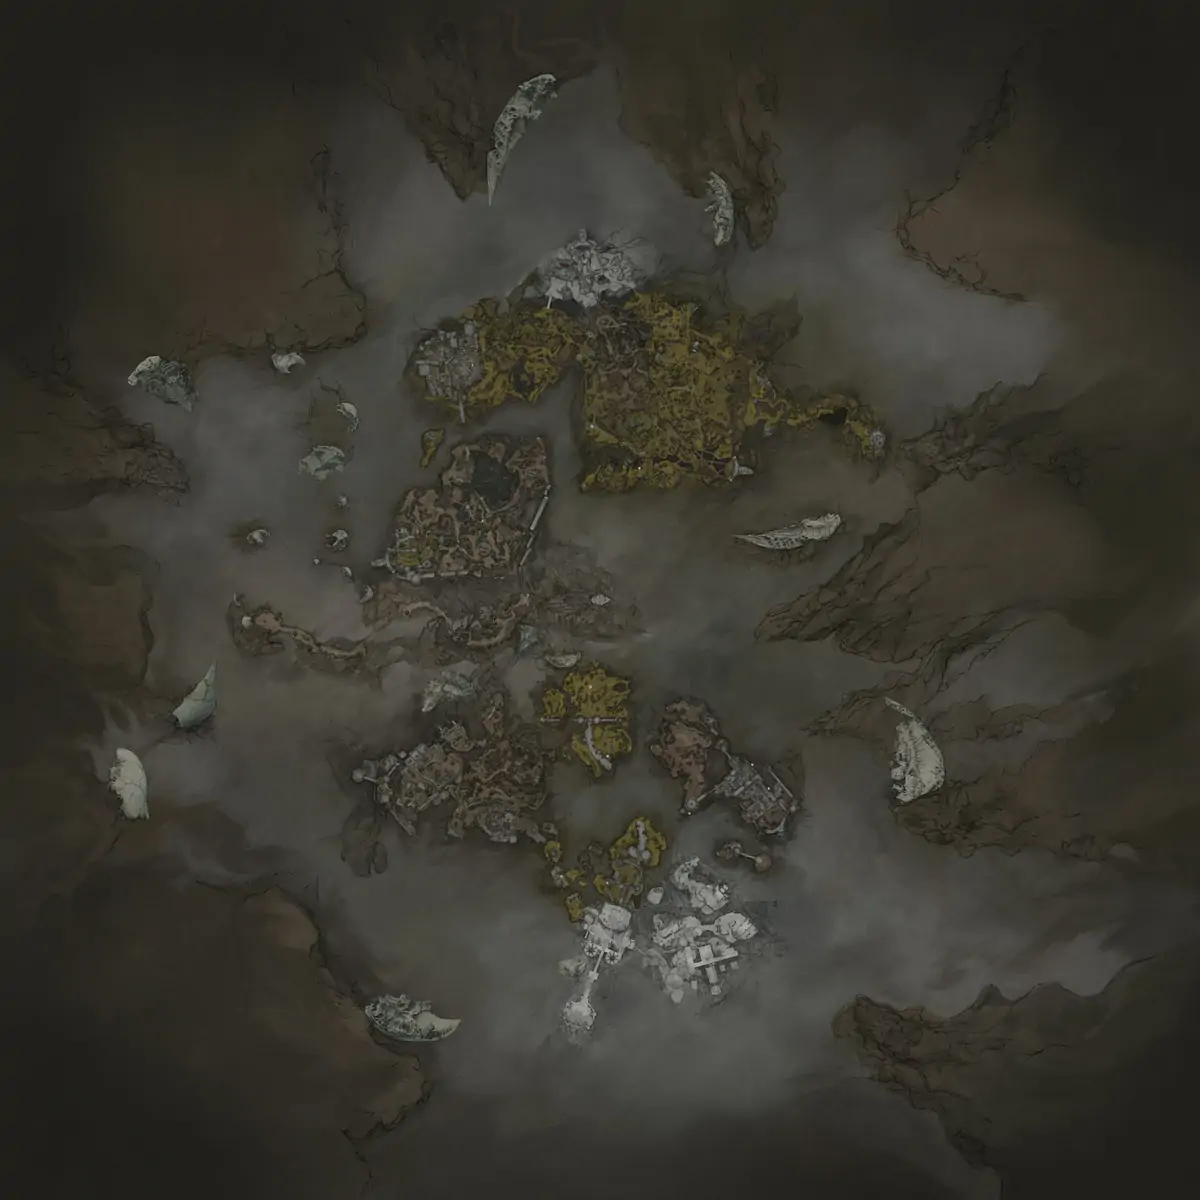
Mortal Shell II’s world is interconnected, and the official store describes it as expansive while deliberately compact. The useful navigation question is therefore not only how far a destination is from you, but which entrance, elevation and connection reaches it. This page provides a route-planning method and a historical visual overview. It is not an interactive map with verified pins for every retail collectible.
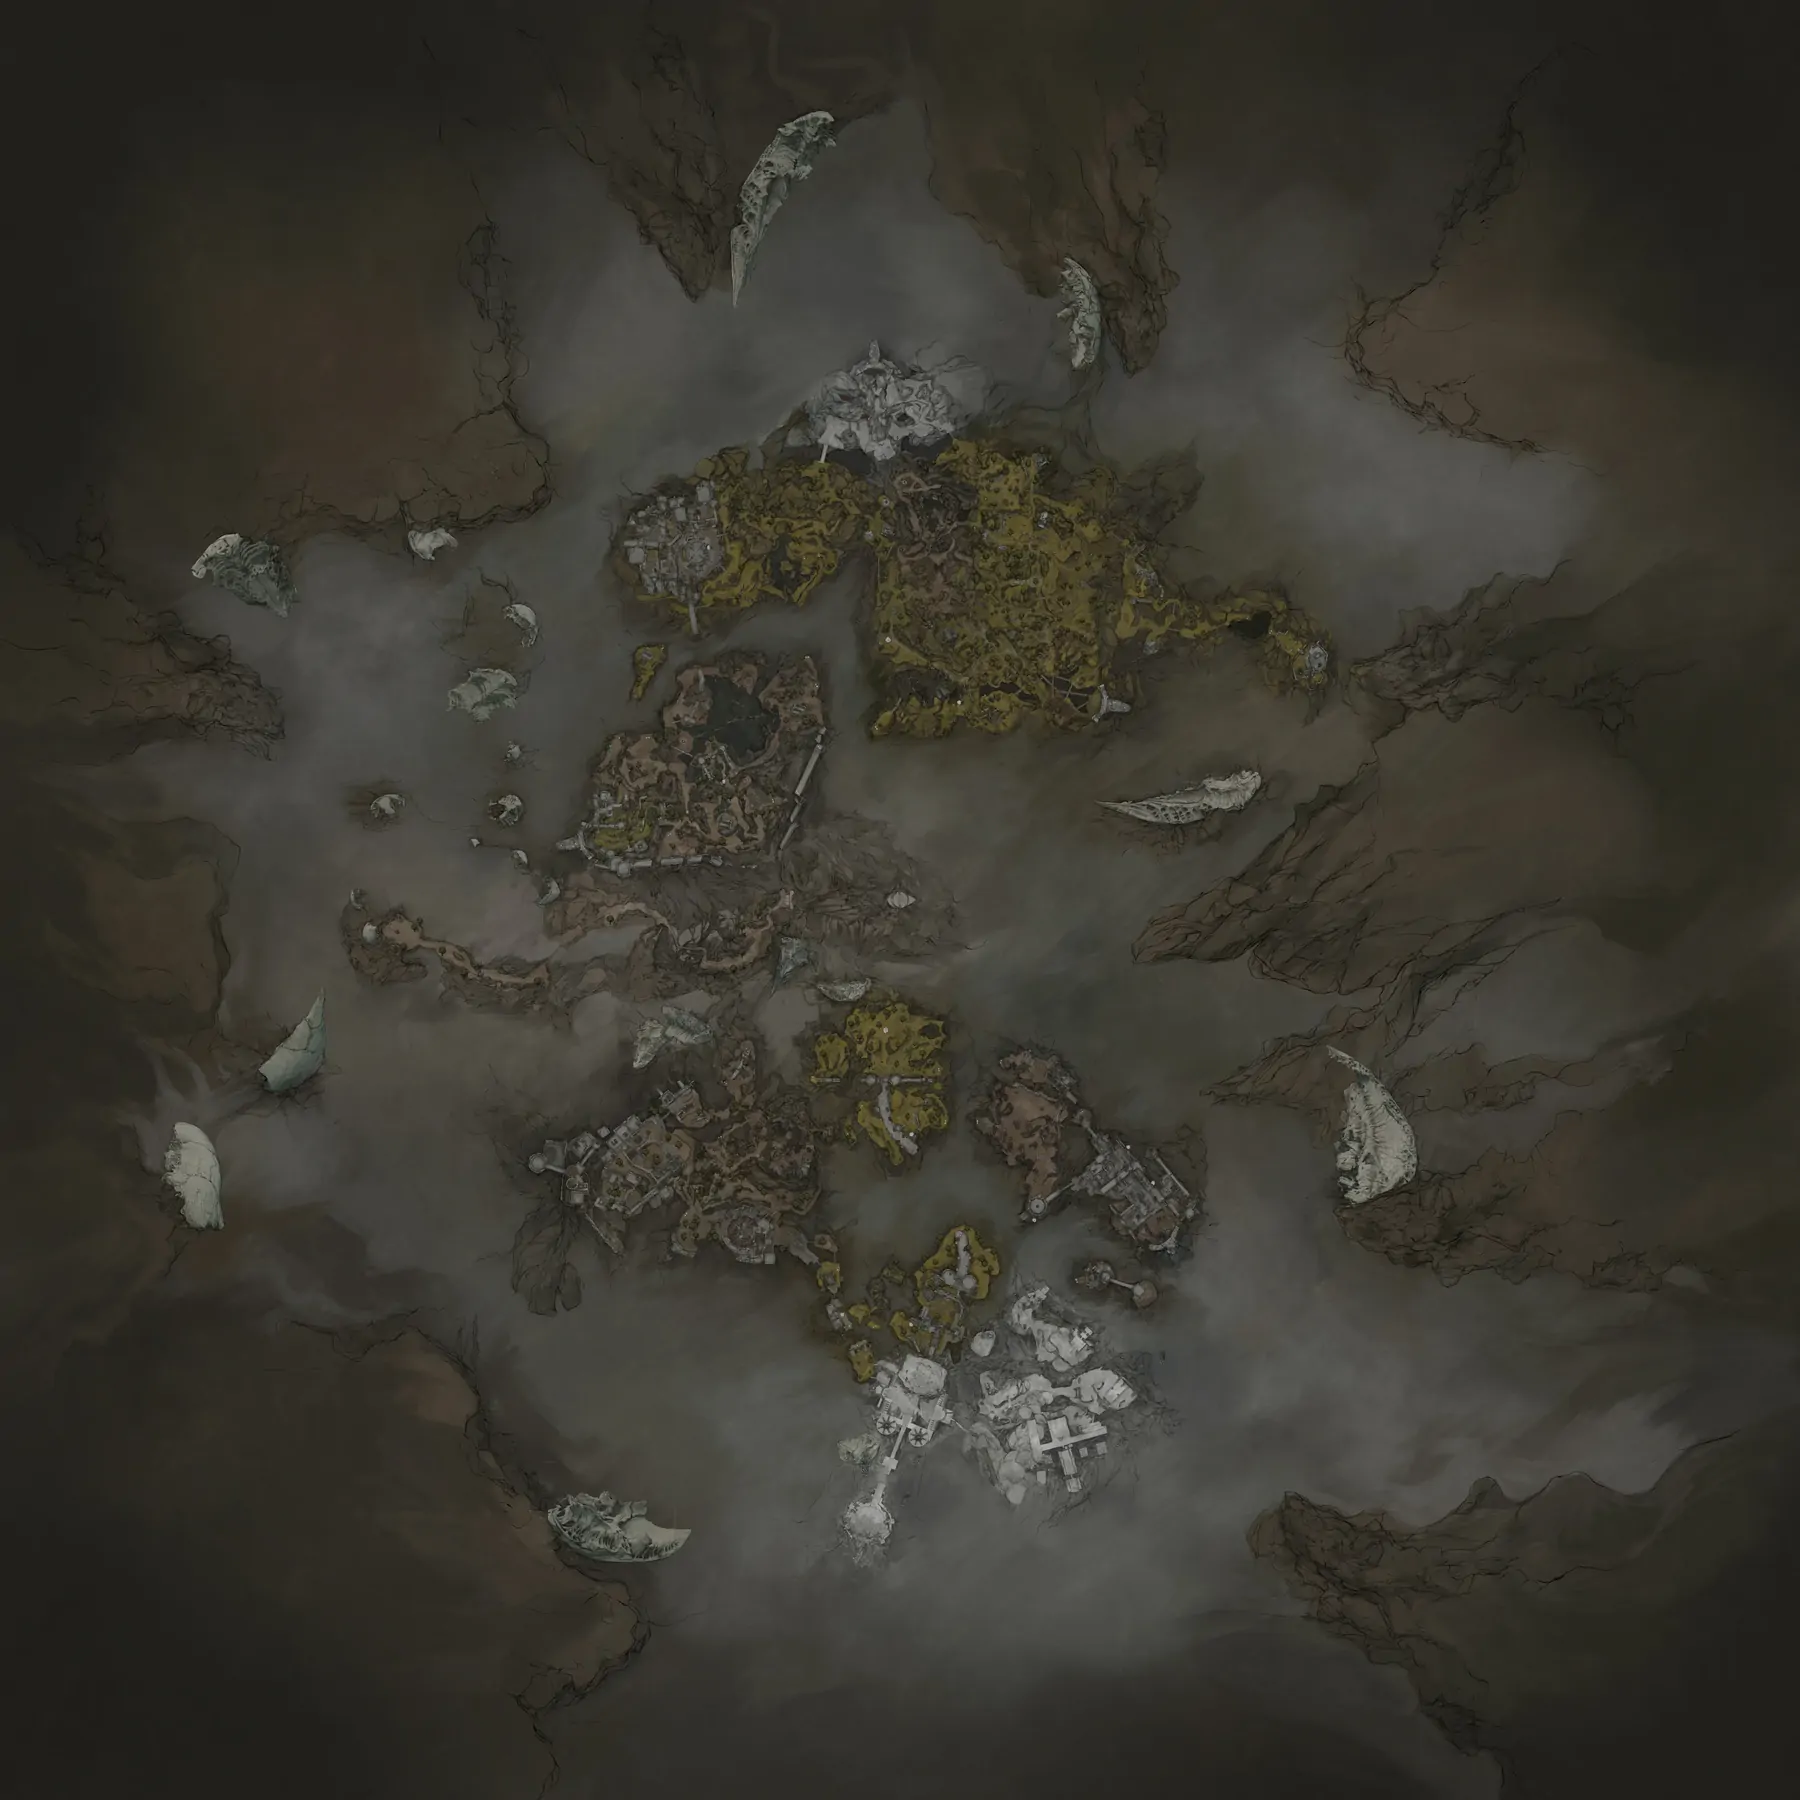
The image is a visual orientation aid retained from the earlier coverage. Fog and incomplete edges should not be converted into named retail regions or collectible locations. Use your installed game’s map and the actual landmark in front of you to confirm a route.
Region walkthroughs
Begin each new area by identifying the last confirmed Beacon, the route you arrived by and the next objective visible in the game. Mark a junction by something you can recognise from both directions: a bridge, a doorway, a sharp elevation change or a distinctive building. A screenshot looking back along the path can be more useful than a map marker when two entrances sit close together.
If a destination appears near your position but you cannot reach it, compare height before distance. A cave entrance, upper ledge and road below can occupy almost the same map position. Search for a connection from the last junction rather than repeatedly attempting a jump that has not shown a valid landing.
This section replaces the earlier small region pages whose location claims were not supported by a complete reproducible route. It does not relabel trailer scenery as a confirmed region. For a documented quest or system issue with a distinct route, use the specialised guides below instead of a generic region name.
Beacons and fast travel
A Beacon can be a landmark, a cleansing objective and part of your travel plan. Verify its current interaction state when arriving. Discovery alone is not a safe basis for assuming a later fast-travel option is available. If you need a particular progression ability for travel, check that ability and the destination in the installed build before leaving your current safe route.
Players have discussed 49 total Beacons and 46 cleansing objectives. Those are community-reported counts, not coordinates or a developer guarantee about every save. The Beacon guide explains that distinction and gives a missing-progress workflow. If your issue is an unselectable Pulse upgrade, use the specific Pulse guide rather than resetting progression on the assumption that the map is incomplete.
On a return journey, verify the chosen destination before confirming travel. Similar-looking names and nearby landmarks are easy to confuse. When planning a boss attempt, first make a successful trip from the intended checkpoint to the arena entrance; that establishes a practical runback for your character rather than an estimated route from an image.
Optional dungeons
Before committing to a dungeon, check the return path and the resources your current loadout consumes. A first visit can be a reconnaissance trip. Clear the entrance encounter, look for the next junction and decide whether you can return without passing through another unknown fight. Finding a dungeon does not require finishing it immediately.
Separate a progression barrier from a combat problem. A locked interaction, a missing traversal prompt and a room full of dangerous enemies call for different responses. Repeating the room will not create a missing quest item; changing Shells without understanding an enemy’s opening may not solve the combat. Read the prompt and identify the actual blocker before looking for a route guide.
The old pages used competing exact dungeon counts drawn from different periods of coverage. This page does not combine those counts into a supposedly complete retail total. A historical Beta scope, an achievement’s requirements and a current map’s discovered icons can describe different sets. Use the objective you are completing rather than assuming that every one of those sets must match.
The documented historical opening
The official Open Beta listing described an opening consisting of the Prologue, the first explorable region, Beacons, optional dungeons and hidden mini-bosses, with a route toward Magdalena, the Lady of the Woods. It named progress beyond Marrow Keep as the threshold associated with a launch prologue-skip reward.
That material is useful for recognising the earlier route and understanding old videos. It is not a complete retail walkthrough and does not prove that every Beta reward or inventory rule applies to a new retail character. The installation and Beta archive preserves those distinctions. A new player should follow the retail beginner route for current priorities.
Routes with their own practical guides
| Current problem | Start here | Why it has a separate guide |
|---|---|---|
| Returning to Mammon and encountering a difficulty spike | Mammon second visit | The problem is the return encounter and survival plan, not a general world size question |
| Recovering from a Sideways Killer ritual-dungeon problem | Ritual dungeon recovery | It addresses a named dungeon interaction and recovery decision |
| Exploring the Rotten Autumn dungeon | Rotten Autumn dungeon | Seasonal dungeon content and its patch context need their own instructions |
| Preparing for a named boss | Boss preparation | The arena approach and combat plan belong together |
| Checking an achievement condition | Achievement reference | An achievement condition is different from a pin showing where to start |
When a route appears blocked
Return to the last location whose state you verified. Check whether you are approaching the intended entrance and whether the route uses an ability, item or quest interaction you actually possess. If a door or prompt still fails, record the exact location and interaction instead of immediately assuming a corrupted save.
Then compare your build with the relevant official patch notes or the specialised issue guide. A historical fix can identify a known problem, but it does not prove that every blocked doorway has that cause. Keep an existing save backup before changing files, and do not use an undocumented item spawn or save edit as the first response to a confusing map.
For ordinary exploration, finish with a confirmed exit and one next objective. A route you can retrace safely is more useful than a collection of guessed region labels, particularly when the world lets several paths connect around the same obstacle.