Mortal Shell II Boss Preparation: Arena Routes, Ripostes and Loadouts
Prepare for Mortal Shell II bosses with an arena runback, a controlled loadout, clear punish windows and patch-aware riposte advice without invented boss statistics.
By Mortal Shell 2 Wiki editorial team · Last updated
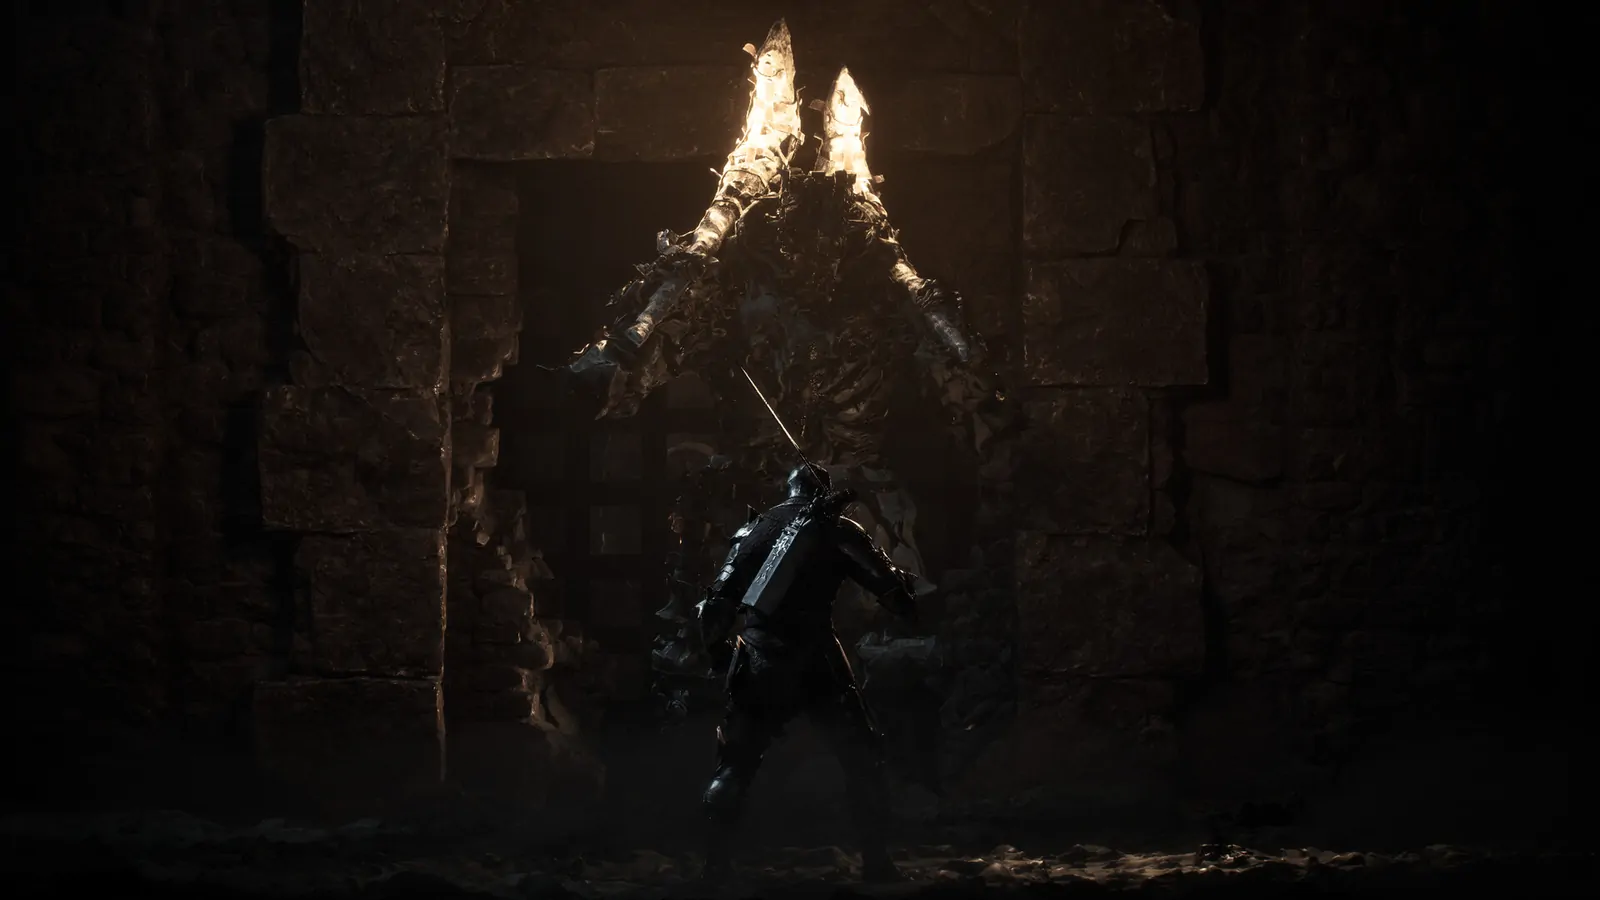
Before a Mortal Shell II boss attempt, establish three things: a route back to the arena, a loadout you can control and one enemy attack you intend to punish. A universal recommended level or an unverified health table is less useful than a sequence you can actually repeat. The game is unrestricted by stamina, but your attack recovery and the boss’s next action still determine whether an opening is safe.
This guide is a preparation workflow rather than a complete moveset catalogue. Individual achievement conditions establish named encounters; they do not publish every boss’s health, elemental weakness or guaranteed drop. The achievement reference provides the exact completion conditions without turning them into fabricated statistics.
Confirm the arena route
Make one trip from your intended checkpoint to the arena entrance before treating it as the runback. Check the Beacon interaction, the route through ordinary enemies and the final approach. If a patrol repeatedly damages you before the boss, alter the approach or clear that group deliberately instead of beginning every attempt in a compromised state.
Look for the point where ordinary exploration ends and the encounter begins. A doorway, arena edge or interaction can trigger a fight before you are ready to inspect inventory. Finish equipment changes on the safe side. If you are carrying resources intended for an upgrade, consider spending them before committing to a new unknown encounter.
For a return visit involving Mammon, use the second-visit survival route. For a broader navigation problem, use the map guide. Those issues deserve a route-specific answer rather than a guessed statement that every boss has an equally short runback.
Fix the loadout before comparing attempts
Choose a Shell whose relevant ability you have read and, where necessary, upgraded. Keep the weapon and Tarstones constant for the first few attempts. If you change every part of the build after each death, you cannot tell whether an improvement came from learning the boss or from the equipment change.
Keep one ordinary attack as the fallback. Test whether it reaches the boss after the opening you selected and whether you regain control before the follow-up. A longer combo is an optional addition after that single hit is reliable. The weapon guide compares patch changes and explains why a buff percentage is not a universal boss recommendation.
Read the sidearm’s actual resource and targeting rules. Balance Patch 1 removed minimum Resolve firing thresholds for Caged Hystrix and Triarch Repeater; that does not establish unlimited fire for every Sidearm. Enter the arena knowing what you can use when the boss moves beyond melee range and what you will do when that option is unavailable.
Learn an attack family, not only the first swing
On the first controlled attempt, watch one normal sequence from its opening through its final recovery. Identify whether the boss pauses, follows with another swing or changes direction when you stay close. Dodge or retreat without forcing a punish until you can distinguish the ending from a delay inside the chain.
On the next attempt, add one attack after the same ending. If it trades with a follow-up, the opening is shorter than your chosen punish or you have identified the wrong ending. Shorten the attack and try again. The aim is not to record a perfect no-hit run; it is to find one exchange that leaves you able to respond.
Treat a grab, a projectile and an area effect separately. A defensive option that works against a weapon swing may not answer the other two. Do not turn one successful parry into a rule that an entire boss is parryable. The official Week 1 notes include encounter-specific fixes and exceptions, which is another reason to avoid a single defensive answer for every animation.
Ripostes after the Week 1 changes
The Week 1 Update changed player riposte damage to scale with enemy health so it keeps pace into later progression, NG+ and Night Mode. It also addressed invulnerability windows, recovery timing and damage being applied incorrectly. These are documented improvements to a specific combat system, not a guarantee that every failed parry is a bug or every riposte is the best available punish.
Practise the triggering parry separately from the attack that follows it. Confirm the actual success feedback, then use the riposte in a clear opening. Avoid adding another input immediately if doing so obscures whether the riposte began or your ordinary attack came out instead. The combat guide supplies the system context.
Keep ordinary hits, posture breaks and ripostes separate when judging an equipment change. A second attempt with more successful parries can be faster without proving that the new weapon has higher base damage. Likewise, enemy-health scaling does not establish that every other build factor is irrelevant.
Shell abilities should answer a specific failure
If a projectile repeatedly interrupts your approach, inspect Smert’s documented projectile-destruction stance and test it against that attack. If you are considering Genessa’s Intangible upgrade because of grabs, confirm the upgrade and the specific interaction rather than expecting automatic protection from equipping the Shell.
Proxima’s hook shot, Eredrim’s Shoulder Bash and the other named abilities should be tested within the actual arena. A movement tool can be useful without making every wall an escape route. A bash can improve an approach without guaranteeing a stagger. The Shell selection guide separates documented abilities from unproven tier-list claims and explains how to respec a bond.
Difficulty, Night Mode and later runs
Check whether you are playing with the adaptive setting, in Night Mode or in NG+. Those contexts matter when comparing your experience with a video or another player’s advice. Do not copy a boss-health estimate or a survival claim without knowing which mode and build produced it.
The adaptive-difficulty guide addresses that option directly. The Night Mode guide and NG+ checklist cover their own progression decisions. A boss preparation page should not hide those differences behind a single “easy” or “hard” label.
Reset the attempt with a clear adjustment
After a death, choose one concrete change: shorten the punish, widen the spacing, reserve a sidearm use, change the approach to the arena or inspect a relevant Shell upgrade. If you cannot name the failure, take an attempt just to observe the attack that caught you.
Stop a comparison when a technical problem prevents consistent input or visibility. Use the PC guide for hitches and display changes instead of trying to diagnose hardware from a boss animation. Once the route, controls and one punish are stable, expand the plan one opening at a time. That produces a repeatable clear without needing invented boss values or a promise that one loadout defeats every encounter.