Mortal Shell II Shell Selection: Abilities, Respec and Build Choices
Compare Mortal Shell II Shell abilities, understand respec costs and choose a build for your current obstacle without treating achievement rarity as a tier list.
By Mortal Shell 2 Wiki editorial team · Last updated
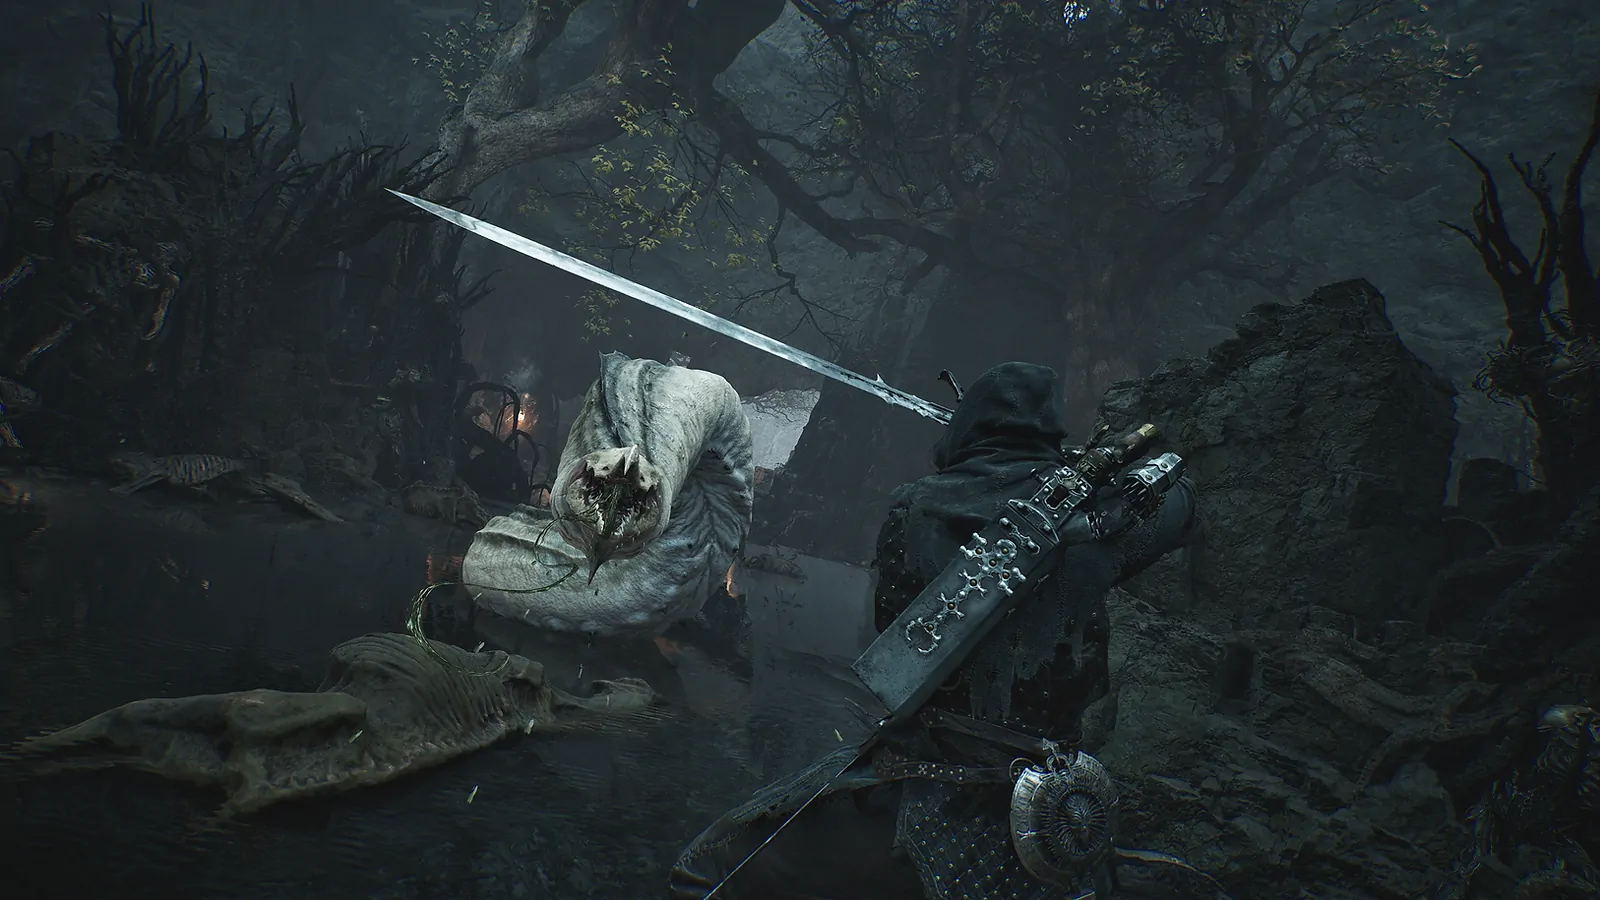
Mortal Shell II has eight playable Shells. Choose between the Shells you have unlocked by the ability you need and the attack sequence you can control. An achievement’s global percentage does not establish acquisition order, damage, durability or difficulty. There is no reliable recommendation to be made by sorting those percentages into a tier list.
The practical reason to experiment is the post-launch economy. The Week 1 Update made Glimpses and Tarcores renewable and introduced Mether’s Severance for Shell respecs. That permits a change of direction during a playthrough, although it does not make every purchase free or remove the need to find and pay for an item.
The eight-Shell roster
The roster is Tiel, Proxima, Eredrim, Smert, Gragu, Sariel, Sester Genessa and Lazlo. Their unlock achievements establish possession goals; the official store supplies the eight-Shell total. The names in the following table are an index, not a recommended collection sequence.
| Shell | Useful named mechanic in the Week 1 notes | What to check in your own ability screen |
|---|---|---|
| Tiel, the Acolyte | The gameplay reveal and historical Open Beta identify Tiel as a Shell | Read the retail abilities rather than copying the 2020 game’s values |
| Proxima, the Broodseeker | Hook shot and Biosampler | Check the target, reach and resource conditions of the ability you intend to use |
| Eredrim, the Venerable | Shoulder Bash | Check how the move fits your approach and its recovery after contact |
| Smert | Permanent fight stance; projectile destruction during that stance | Establish which incoming attack actually counts as a projectile |
| Gragu | Heart of Vatra and sheep form | Read the current transformation and ability conditions before relying on an old build |
| Sester Genessa | Astral Doubles, dash, corrupted dash and Intangible | Check your purchased upgrades; a named upgrade is not automatically active |
| Lazlo | Rekindle is mentioned in the patch’s softlock fixes | Check the current ability text and do not infer a cooldown from the fix |
| Sariel | The achievement roster identifies the unlock; the checked Week 1 Shell section does not describe a complete kit | Inspect the current Shell screen before spending into a purported pain-conversion build |
This is deliberately a comparison of documented mechanics. A patch can mention one Shell more often because that Shell needed more fixes. The number of patch entries does not rank mechanical depth, damage or defensive strength. Likewise, absence from a particular patch does not mean a Shell has no abilities.
Choose for the obstacle in front of you
For a route involving Proxima’s hook shot, first establish whether you need her ability at the actual obstacle. Having a grapple named in a patch does not prove that every distant ledge is reachable or that other Shells lack movement options. Equip the relevant Shell, inspect the target and test from a safe approach. If the interaction does not appear, reconsider the route rather than repeating a lethal jump.
For projectile pressure, Smert’s stance is a specific option worth checking. Begin with a single enemy on level ground so you can see whether the attack is destroyed. A projectile rule does not imply protection against a beam, ground effect, explosion or grab. If your actual problem is an enemy closing into melee, select for that exchange instead of assuming that a projectile defence answers every attack.
For Genessa, the Week 1 notes name Doubles and an Intangible upgrade associated with grab attacks. That is a reason to inspect the purchased upgrade and practise its timing. It is not a promise that an unupgraded Genessa automatically survives every grab. Separate ordinary dash behaviour from a corrupted dash, and separate both from the particular upgrade described in the note.
For Eredrim, test Shoulder Bash against the specific opening you want to punish. Its existence is documented; a universal stagger threshold is not supplied by that patch. Compare a successful approach with one ordinary attack using the same weapon. If the bash leaves you exposed to a follow-up, shorten the sequence before investing further.
Unlocking a Shell and buying location information
Balance Patch 1 added the ability to purchase Shell map locations with Gloom. Use that in-game information when hunting a missing body. A location marker is a navigation aid; it does not guarantee the route is safe with your present equipment, and a nearby marker need not be reachable from your current elevation.
The same patch addressed Glimpse refunds in the Shell Keeper’s alcove in Blackmarrow. Check the current interaction at Zhirelle rather than treating a guide’s old currency total as a permanent budget. When an unlock has a quest condition, keep its quest item and dialogue separate from ordinary map exploration. The achievement reference lists the published unlock requirements, while the missable-achievement guide handles decisions that deserve extra care.
Respec with Mether’s Severance
The Week 1 Update describes Mether’s Severance as a Shell respec item sold by Merrick, with stock replenishing as progression advances. Give it to Zhirelle to sever the bond with the chosen Shell and refund the Glimpses invested in that bond. Read the confirmation screen so you reset the intended Shell, particularly if you have been alternating several builds.
Before using it, write down the upgrade you want to replace and the alternative you intend to buy. The useful comparison is a complete working sequence: approach, attack, ability and escape. Resetting repeatedly without a target sequence can consume availability and time while leaving the original problem unresolved. Renewable resources mean the playthrough is no longer governed by the original finite supply; they do not mean every resource is already in your inventory.
Keep this separate from a Tarstone reset. Mether’s Severance concerns a Shell bond. Tarstones have their own post-launch changes and the Rotten Autumn reset workflow. Use the Tarstone reset guide for that system instead of expecting a Shell respec to rebuild every part of the loadout.
Compare two builds without confusing the result
Start with one enemy you can reach reliably. Keep the weapon, Tarstones and difficulty settings unchanged while swapping Shells. First compare the safe attack window; then compare the ability you are considering. If you also change weapon upgrades and difficulty, a faster kill cannot be attributed to the Shell alone.
Distinguish an ability that prevents a hit from one that restores control after it. Both can be useful, but they solve different failures. A successful test against a small enemy also does not establish a boss interaction. Carry the successful sequence into the boss arena cautiously and stop after its first safe punish to see the follow-up.
Keep weapon and patch advice in context
Riposte damage received an enemy-health scaling change in Week 1, alongside invulnerability and recovery fixes. That makes riposte behaviour relevant to every build; it does not establish that weapon choice or Shell bonuses cease to matter. Use the combat guide for the underlying defensive sequence and the weapon comparison for weapon-specific patch changes.
Do not import Eredrim’s health, Tiel’s stamina or another character’s 2020 statistics into the sequel. The sequel’s stamina-unrestricted combat and changed roster make that shortcut particularly misleading. Begin with the current ability descriptions, choose a documented tool for a concrete obstacle, and expand only when the combination works in the situation you are actually trying to clear.